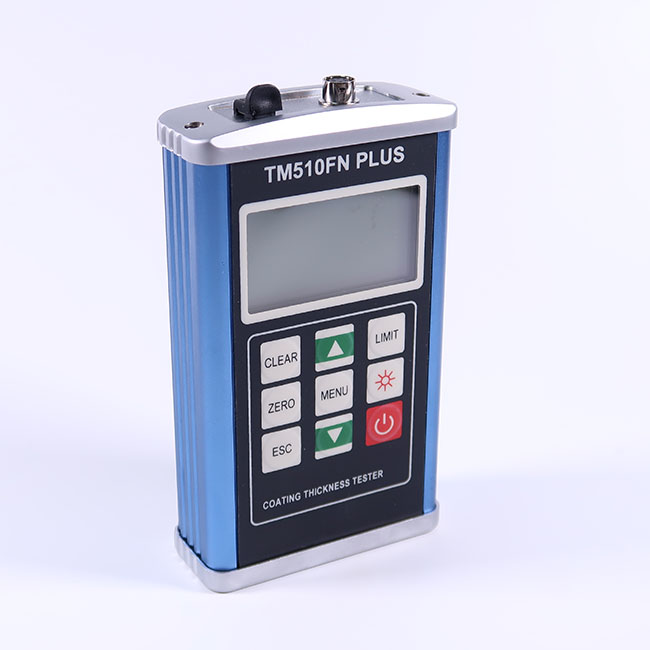
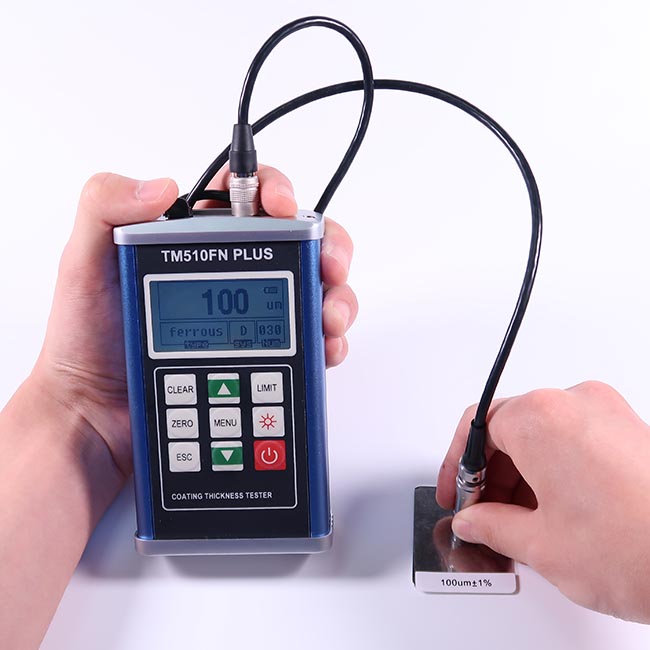
Cheap price Best Paint Thickness Gauge For Cars - TM510FNplus Coating thickness gauge – TMTeck
Cheap price Best Paint Thickness Gauge For Cars - TM510FNplus Coating thickness gauge – TMTeck Detail:
● 2 Measuring modes: continuous/single
● 2 Shutdown modes: manual/automatic
●Wide measuring range with 5 probes available (next page)
●Direct testing mode and block statistics mode (APPL/BATCH)
●Can connect with printer to out of statistical values
●Dataview to connect with PC with USB 2.0 port
●500 datas can be stored
Main features
Can use various probe (F400, F1, F1/90 °, F10, N1, N400, etc.) measurement;
Three calibration methods: one point calibration, two point calibration, the basic calibration;
Display resolution: 0.1 um (measuring range of less than 100 um)
1μ m (range greater than 100 u m)
Have five statistics, data storage 500
There are two working methods: direct ways and means of group
There are two measurements: continuous measurement and a single measurement
There are two shutdown: manual and automatic shutdown shutdown
Can be set Bound: The gauge of the measured value can be automatic alarm and a number of measurements available on the histogram value analysis;
Deleted features: the gross error and error settings can be deleted;
Printing: Print Measurement measurement, statistics, gauges, histogram
A music tone in the operation carried out at any time tips
A power supply under-voltage direct function
An error function
And printers, computer communications (communications software operating environment for the Window operating system) connectivity.
Technical Specifications:
| Measuring range | 0-1250µ with standard probe F1.N1 (10.000mm max) |
| Probes available | 5 probes available for F (ferrous: on steel/iron) and N (non-ferrous metals) |
| Tolerance | F1:±(1µ+3%H) N1.±(1.5µ+3% H)H: actual thickness tested |
| Resolution | Alphanumeric with 4 large digits |
| Operation language | English |
| Standards | DIN, ISO, ASTM,BS |
| Min. measuring area | F1:(standard probe) |
| Min. curvature radius | convex:3mm, concave:50mm |
| Min. substratethickness | type F: 0.5mm, type N: 50mm |
| Calibration | Zero and foil calibration |
| Statistics | Number of measurements, mean, standard deviation,maximum and minimum of 3000readings |
| Data memory | 500 measuring data |
| Limits | Adjustable with acoustic alarm |
| Interface | USB 2.0 |
| Operating temperature | 0-40℃ |
| power supply | AA size 1.5V |
| Dimensions | 125*67*31mm (main unit) |
| Weight | 345.g |
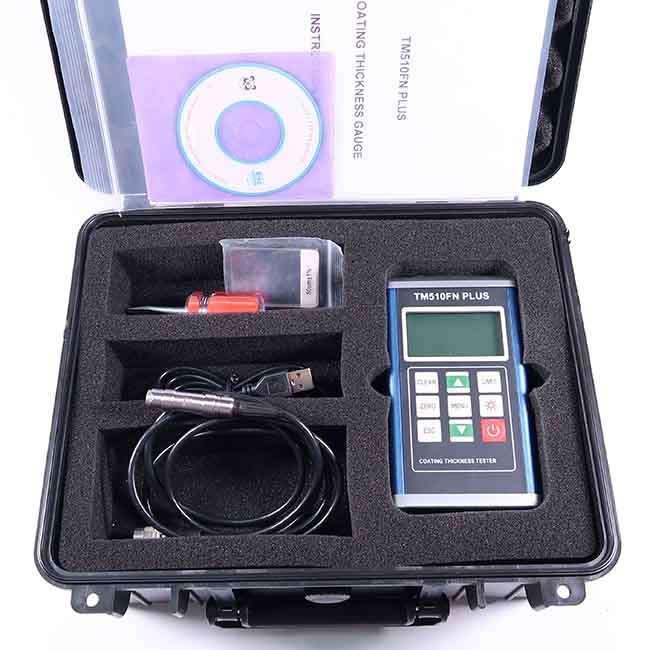
Standard Delivery
| · Main unit | 1 |
| · Probe F1 or N1 | 1 |
| · Calibration foils | 5 |
| · Instruction manual | 1 |
| · Cetificate | 1 |
| · Warranty card | 1 |
| · Carrying case | 1 |
| Communication cable | 1 |
| PC software Dataview | 1 |
Optional accessories
●5 probes for different applications
●Calibration foils in various thickness
Type F probe:
|
Probe |
F400 |
F1 |
F1/90° |
F10 |
|||
|
Measuring Principle |
Magnetic method |
||||||
|
Measuring range(mm) |
0~400um |
0~1250 um |
0~10000 |
||||
|
Min resolution(mm) |
0.1 |
0.1 |
10 |
||||
|
Tolerance |
One-point calibration (mm) |
±(2%H+0.7) |
±(2%H+1) |
±(2%H+10) |
|||
|
Two-point calibration (mm) |
±(1%H+0.7) |
±((1%H+1) |
±(1%H+10) |
||||
|
Minimum radius of curvature (convex) (mm) |
1 |
1.5 |
flat |
10 |
|||
|
Minimum measuring area(mm) |
F3 |
F7 |
F7 |
F40 |
|||
|
Minimum thickness of base material(mm) |
0.2 |
0.5 |
0.5 |
2 |
|||
Type N probe
| Probe | N400 |
N1 |
CN02 |
|
| Measuring Principle |
Eddy current method |
|||
| Measuring range (mm) |
0~400 |
0~1250 |
10~200 |
|
| Min resolution(mm) |
0.1 |
0.1 |
1 |
|
| Tolerance | One-point calibration (mm) |
±(2%H+0.7) |
±(2%H+1.5) |
±(2%H+1) |
| Two-point calibration (mm) | ±(1%H+0.7) | ±(1%H+1.5) |
——– |
|
| Minimum radius of curvature (convex) (mm) |
1.5 |
3 |
flat |
|
| Minimum measuring area(mm) |
F4 |
F5 |
F7 |
|
| Minimum thickness of base material(mm) |
0.3 |
0.3 |
0 |
|
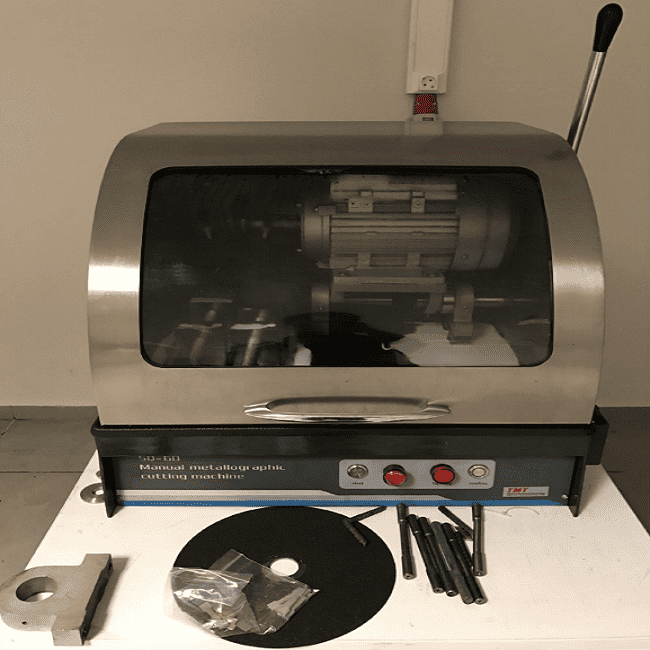
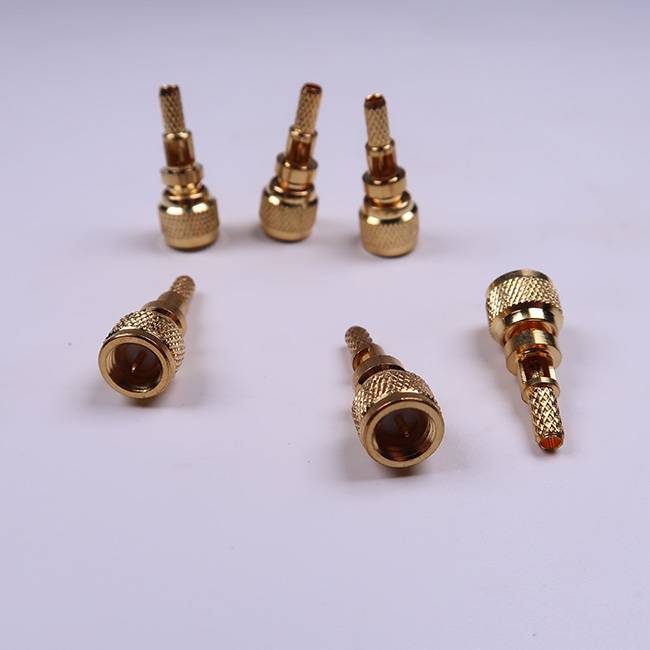
Product detail pictures:


Related Product Guide:
We normally think and practice corresponding towards the change of circumstance, and grow up. We aim at the achievement of a richer mind and body plus the living for Cheap price Best Paint Thickness Gauge For Cars - TM510FNplus Coating thickness gauge – TMTeck , The product will supply to all over the world, such as: Hamburg, Slovenia, Moldova, Profession, Devoting are always fundamental to our mission. We've got always been in line with serving customers, creating value management objectives and adhering to the sincerity, dedication, persistent management idea.
This manufacturers not only respected our choice and requirements, but also gave us a lot of good suggestions, ultimately, we successfully completed the procurement tasks.

