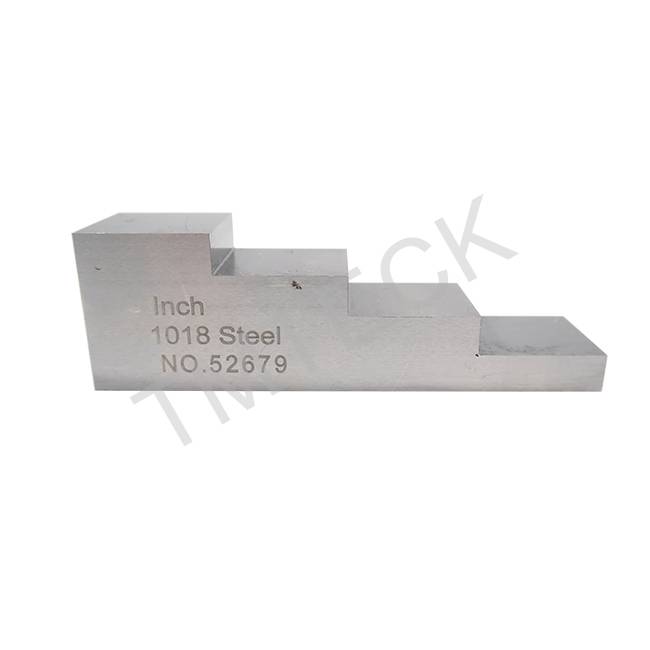
Special Design for Barcol Hardness Scale - The Impact Device of Hardness Tester – TMTeck
Special Design for Barcol Hardness Scale - The Impact Device of Hardness Tester – TMTeck Detail:
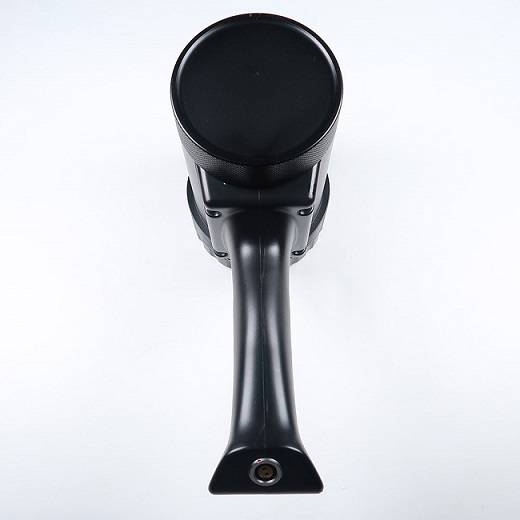
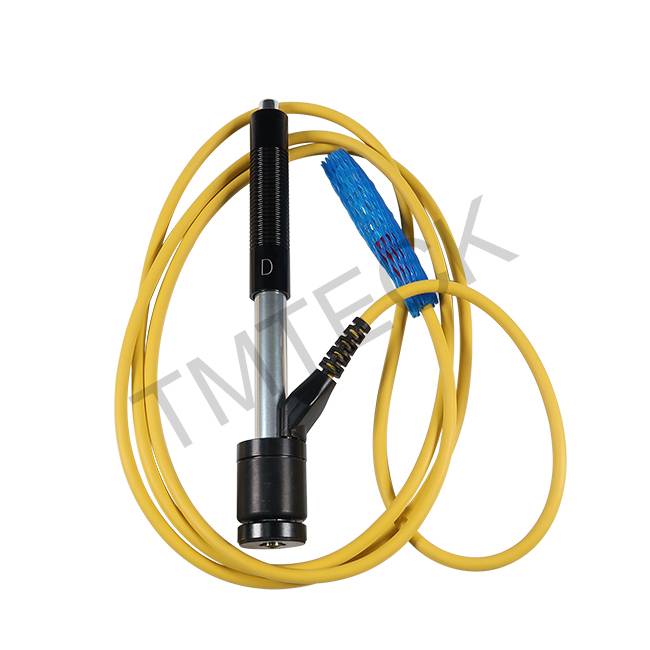
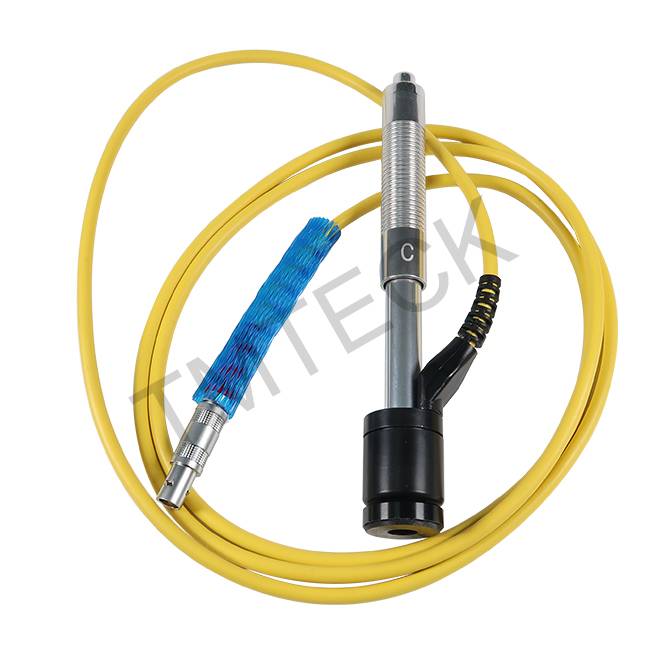
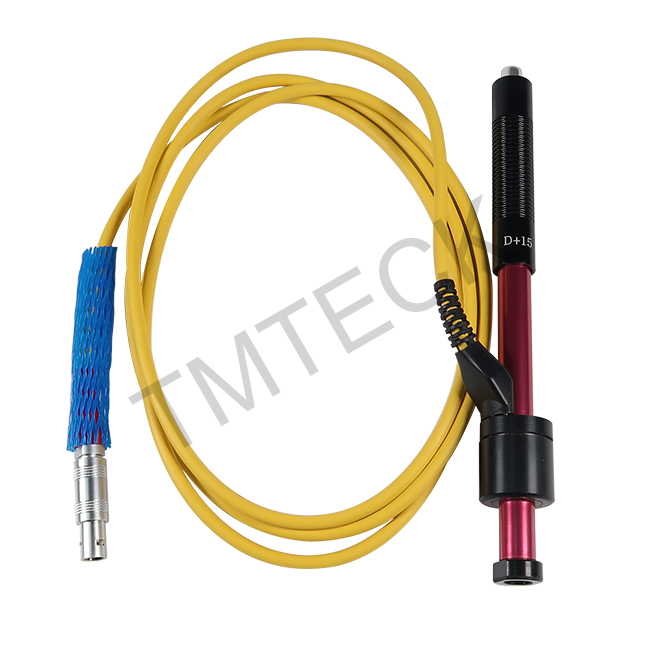
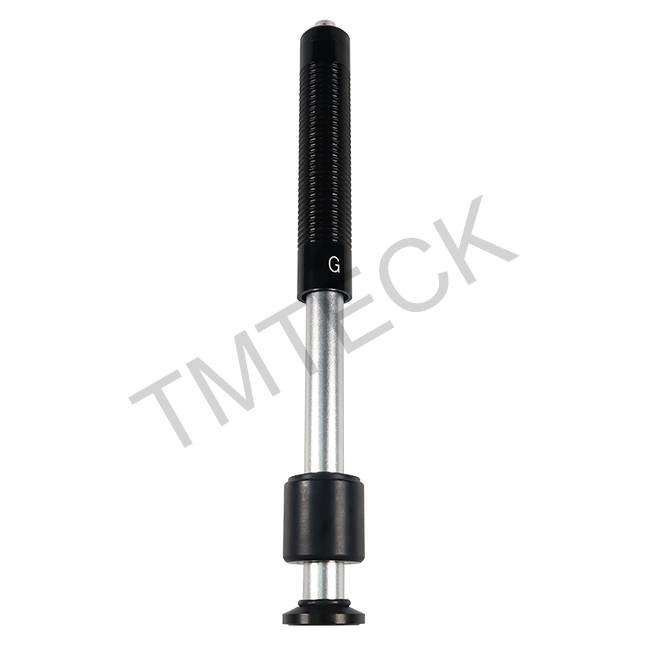
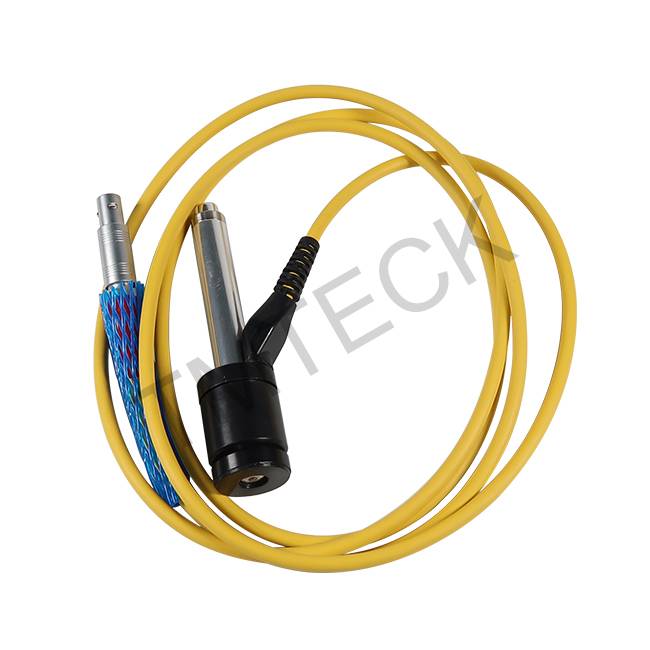
The Impact Device of Hardness Tester


Different Types of Impact Device
|
Material |
Hardness method |
Impact device |
|||||
|
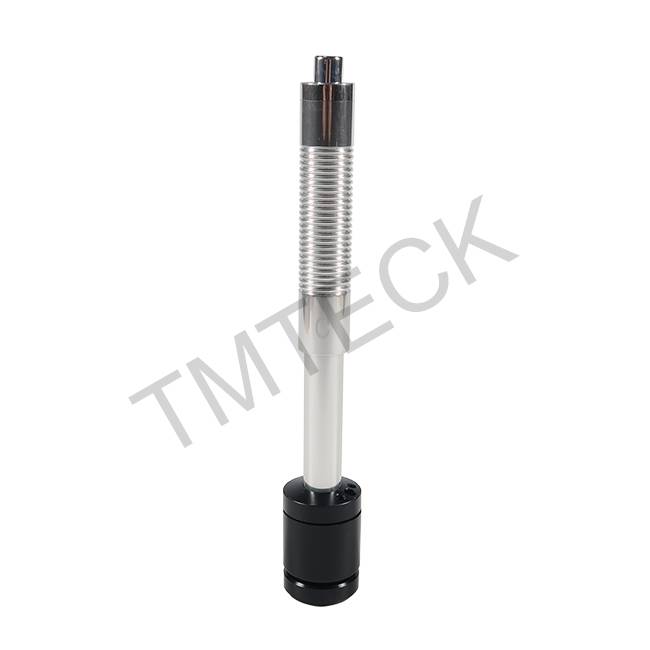
D/DC |
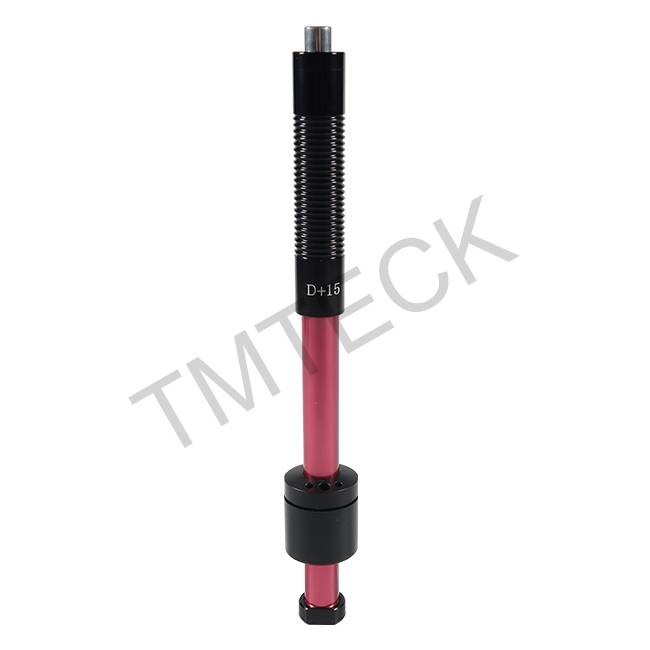
D+15 |
C |
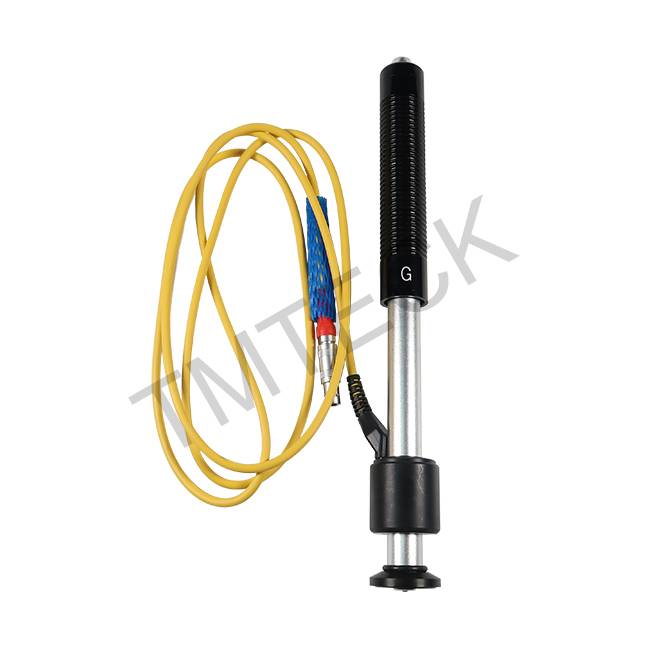
G |
E |
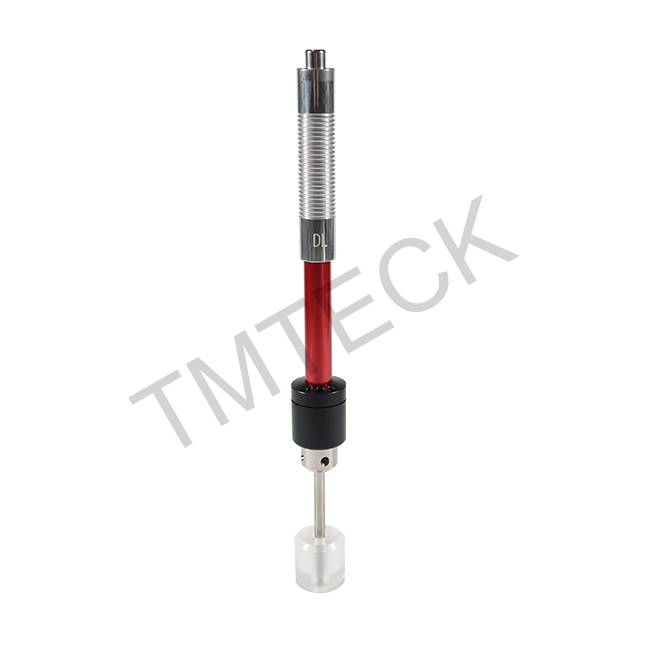
DL |
||
|
Steel and cast steel |
HRC |
17.9~68.5 |
19.3~67.9 |
20.0~69.5 |
22.4~70.7 |
20.6~68.2 |
|
|
HRB |
59.6~99.6 |
47.7~99.9 |
37.0~99.9 |
||||
|
HRA |
59.1~85.8 |
61.7~88.0 |
|||||
|
HB |
127~651 |
80~638 |
80~683 |
90~646 |
83~663 |
81~646 |
|
|
HV |
83~976 |
80~937 |
80~996 |
84~1042 |
80~950 |
||
|
HS |
32.2~99.5 |
33.3~99.3 |
31.8~102.1 |
35.8~102.6 |
30.6~96.8 |
||
|
Hammered steel |
HB |
143~650 |
|||||
|
Cold work tool steel |
HRC |
20.4~67.1 |
19.8~68.2 |
20.7~68.2 |
22.6~70.2 |
||
|
HV |
80~898 |
80~935 |
100~941 |
82~1009 |
|||
|
Stainless steel |
HRB |
46.5~101.7 |
|||||
|
HB |
85~655 |
||||||
|
HV |
85~802 |
||||||
|
Gray cast iron |
HRC |
||||||
|
HB |
93~334 |
92~326 |
|||||
|
HV |
|||||||
|
Nodular cast iron |
HRC |
||||||
|
HB |
131~387 |
127~364 |
|||||
|
HV |
|||||||
|
Cast aluminum alloys |
HB |
19~164 |
23~210 |
32~168 |
|||
|
HRB |
23.8~84.6 |
22.7~85.0 |
23.8~85.5 |
||||
|
Brass(copper-zinc alloys) |
HB |
40~173 |
|||||
|
HRB |
13.5~95.3 |
||||||
|
Bronze (copper-aluminum/copper-tin alloys) |
HB |
60~290 |
|||||
|
Wrought copper alloys |
HB |
45~315 |
|||||
|
Non conventional impact devices |
DC(D)/DL |
D+15 |
C |
G |
E |
|
|
Impacting energy Mass of impact body |
11Mj
5.5g/7.2g |
11mJ
7.8g |
2.7mJ
3.0g |
90mJ
20.0g |
11mJ
5.5g |
|
| Test tip Hardness Diameter of test tip
Material of test tip |
1600HV 3mm Tungsten carbide |
1600HV 3mm Tungsten carbide |
1600HV 3mm Tungsten carbide |
1600HV 5mm Tungsten carbide |
5000HV 3mm synthetic diamond |
|
|
Impact device Diameter Impact device Length Impact device Weight |
20mm
86(147)/ 75mm
50g |
20mm
162mm
80g |
20mm
141mm
75g |
30mm
254mm
250g |
20mm
155mm
80g |
|
|
Max. hardness of workpiece |
940HV |
940HV |
1000HV |
650HB |
1200HV |
|
|
Mean roughness of workpiece surface of the Ra |
1.6μm |
1.6μm |
0.4μm |
6.3μm |
1.6μm |
|
|
Min. weight of sample Measure directly Need support firmly Need coupling tightly |
>5kg 2~5kg 0.05~2kg |
>5kg 2~5kg 0.05~2kg |
>1.5kg 0.5~1.5kg 0.02~0.5kg |
>15kg 5~15kg 0.5~5kg |
>5kg 2~5kg 0.05~2kg |
|
|
Min. thickness of sample coupling tightly Min.layer thickness for surface harden |
5mm
≥0.8mm |
5mm
≥0.8mm |
1mm
≥0.2mm |
10mm
≥1.2mm |
5mm
≥0.8mm |
|
|
Size of tip indentation |
||||||
|
Hardness 300HV |
Indentation diameter |
0.54mm |
0.54mm |
0.38mm |
1.03mm |
0.54mm |
|
Indentation depth |
24μm |
24μm |
12μm |
53μm |
24μm |
|
|
Hardness 600HV |
Indentation diameter |
0.54mm |
0.54mm |
0.32mm |
0.90mm |
0.54mm |
|
Indentation depth |
17μm |
17μm |
8μm |
41μm |
17μm |
|
|
Hardness 800HV |
Indentation diameter |
0.35mm |
0.35mm |
0.35mm |
– |
0.35mm |
|
Indentation depth |
10μm |
10μm |
7μm |
– |
10μm |
|
|
Available type of impact device |
D: General test
DC: Hole or hollow-cylindrical test
DL: Slender narrow groove or hole test
|
D+15: groove or reentrant surface |
C: small, light, thin parts or surface of hardend layer |
G: large, thick, heavy or rough surface steel |
E: super high hardness material |
|
|
Type of Impact Device |
Distance of center of the two indentations |
Distance of center of the indentation to sample edge |
|
Not less than (mm) |
Not less than (mm) |
|
|
D、DC |
3 |
5 |
|
DL |
3 |
5 |
|
D+15 |
3 |
5 |
|
G |
4 |
8 |
|
E |
3 |
5 |
|
C |
2 |
4 |
Product detail pictures:



Related Product Guide:
We constantly function like a tangible group to ensure that we can give you the very best high-quality and also the very best cost for Special Design for Barcol Hardness Scale - The Impact Device of Hardness Tester – TMTeck , The product will supply to all over the world, such as: Peru, Estonia, Bangalore, Thus far, our item associated with printer dtg a4 may be shown in most foreign nations as well as urban centers, which are sought after simply by targeted traffic. We all highly imagine that now we have now the full capacity to present you with contented merchandise. Desire to collect requests of your stuff and produce the long-term co-operation partnership. We very seriously promise:Csame top quality, better price; exact same selling price, higher quality.
Timely delivery, strict implementation of the contract provisions of the goods, encountered special circumstances, but also actively cooperate, a trustworthy company!

